Header

Showing posts with label travel tray. Show all posts

Sunday, 13 November 2011

If I had a hammer...

OK, I do, and I'm going to use it!


This morning's task, (other than washing, ironing and a trip to Tesco), is to complete some change trays to give to my Mum later; a couple of her friends have requested some for their daughters for Christmas.

So in those brief spare minutes recently, I have been stitching up the squares and starting to get those tricky poppers on.

So far I have made 3 large, 2 medium and a pair of matching smaller ones and have just four more to hammer this morning.  They actually don't want that many, but I figured whichever they don't choose can be put aside for Teaching Assistant Christmas gifts and the like.


For those not hanging round these parts when I last had a travel tray blitz, here's the 'how'.

Thank you everyone for all the birthday wishes for dear Hubby yesterday - he loves his quilt, so quit asking for it!!  I even got a Flickr Explore for a picture of the front!

I didn't get to catch up an all things bloggy yesterday, and doubt I'll get a chance again today as the hubs and I are out to a concert tonight, so have a great rest of the weekend, and I'll catch you all tomorrow x

Tuesday, 7 June 2011

Back in the old routine...

Having spent half term, and the last couple of days, (yep, good old inset day), keeping the family happy with a trip to Legoland on Sunday and a full-on home-cinema afternoon yesterday watching Gnomio & Juliette, with binds and curtains closed and lots of popcorn, today was back to work, nursery and school.  Boo!

But it wasn't all fun fun fun over the long weekend, I did have some time to get down to 'business' and managed to quilt the skull...


If all goes to plan, I am hoping to do the binding tonight - thank you for all the helpful, (or otherwise), suggestions, I will show you the outcome tomorrow.

I've also made my June Bee Blocks for Fiona already!!  I just have the siggy block to make, then they can be popped in the post along with my parcel of pink Rainbow Swap charm squares. 

Remember all the little change trays I've made from the Sew Hip/Jojoebi design, well how chuffed am I to have many of them show up on Jo, the designer's blog today! She is such a talented designer, it's a privilege to be included.


Tomorrow I am off to Drusillas with the girls and nursery, and hubby gets to go to the Bluebell Railway with a lot of 6 year olds!  It's a hard life!

Wednesday, 1 June 2011

That was the month that was...

Hurray, I love June!  It's my favourite month, not just because I have a birthday at the end or anything like that, but have a sneaky peak at what I am not allowed to play with for another few weeks...


Today I am linking up with Lily's Quilts Fresh Sewing Day - Hello World!  Last month I linked directly to the Happy Scrappy block post, but I achieved so much in May, I thought it merited a new post looking back at my best sewing month ever!

First, there were finishes...
Happy Scrappy Quilt - inspired by the Aneela Hoey crazy scrappy blocks.  My flickr pic of the top got added to Explore on 15th May and has had over 640 views; so many comments, so many 'favourites' - overwhelming - thank you everyone!!!!!!


Sherbet Pips Confetti Quilt - Fat Quarterly/Quilt Dad pattern...


There were completed tops...
Union Jack - based on a pattern from Mandy Shaw...


Brit Quilt Swap Skull - based on a Boo Davis design - the recipient is still a secret!


And the best of the rest...
Cushions...


Bracelets...


Toys for the boys...


...and three Mystery blocks...  PS. it's never too late to join in and learn by my mistakes!


I also linked up to Fairy Face Designs' Summer Sewing Plans; wrote a list of my top 20 To-Dos and have ticked off 7 so far!  Nothing like a good list to get you focussed!

If you've popped over from Lynne's, please come back and visit again soon; if you were here already but haven't been over to Lily's Quilts, go take a look there too, it's brilliant.

I hope you all had a great May, and here's to a June full of fun and fabric x

Saturday, 2 April 2011

For those that have asked...

... and for those that haven't, here's a quick look at, (tutorial isn't the word I'd use) how I make those little trinket / travel trays.

Firstly, total credit goes to Jo Ebisujima as this project appeared in last month's Sew Hip; but if you missed that, and/or want to have a laugh see how something really simple can be turned into something that seems far more complicated, then keep reading.  If not, see you tomorrow!!

This should only take about half an hour, (to make, not read) if you have all the necessities to hand, including a hammer and poppers.

I first made these with beautiful Echino, but the last two have been made with the free sample swatches that the lovely John Lewis people like to send.  They are roughly A4, so perfect for this project!


As I wanted to make a smaller tray for my Mum, compared the one I make for Dad the other day,  I have cut the fabric down, no measuring, just making sure to have a square and a rectangle that is as wide as the square.  For my Dad, I folded the corner over to make a square and used the off-cut for the second piece.


These are the two patterned pieces I wanted, and a corresponding piece of plain cotton-linen.  Due to the weight of the poppers, this will work best with heavier cottons or linen, or your sides won't stand up!


I cut the plain fabric in two, one third of the way along, and then trimmed a little excess off the patterned strip.  All seams are meant to be 1/4", but as long as they are all the same, it doesn't matter.

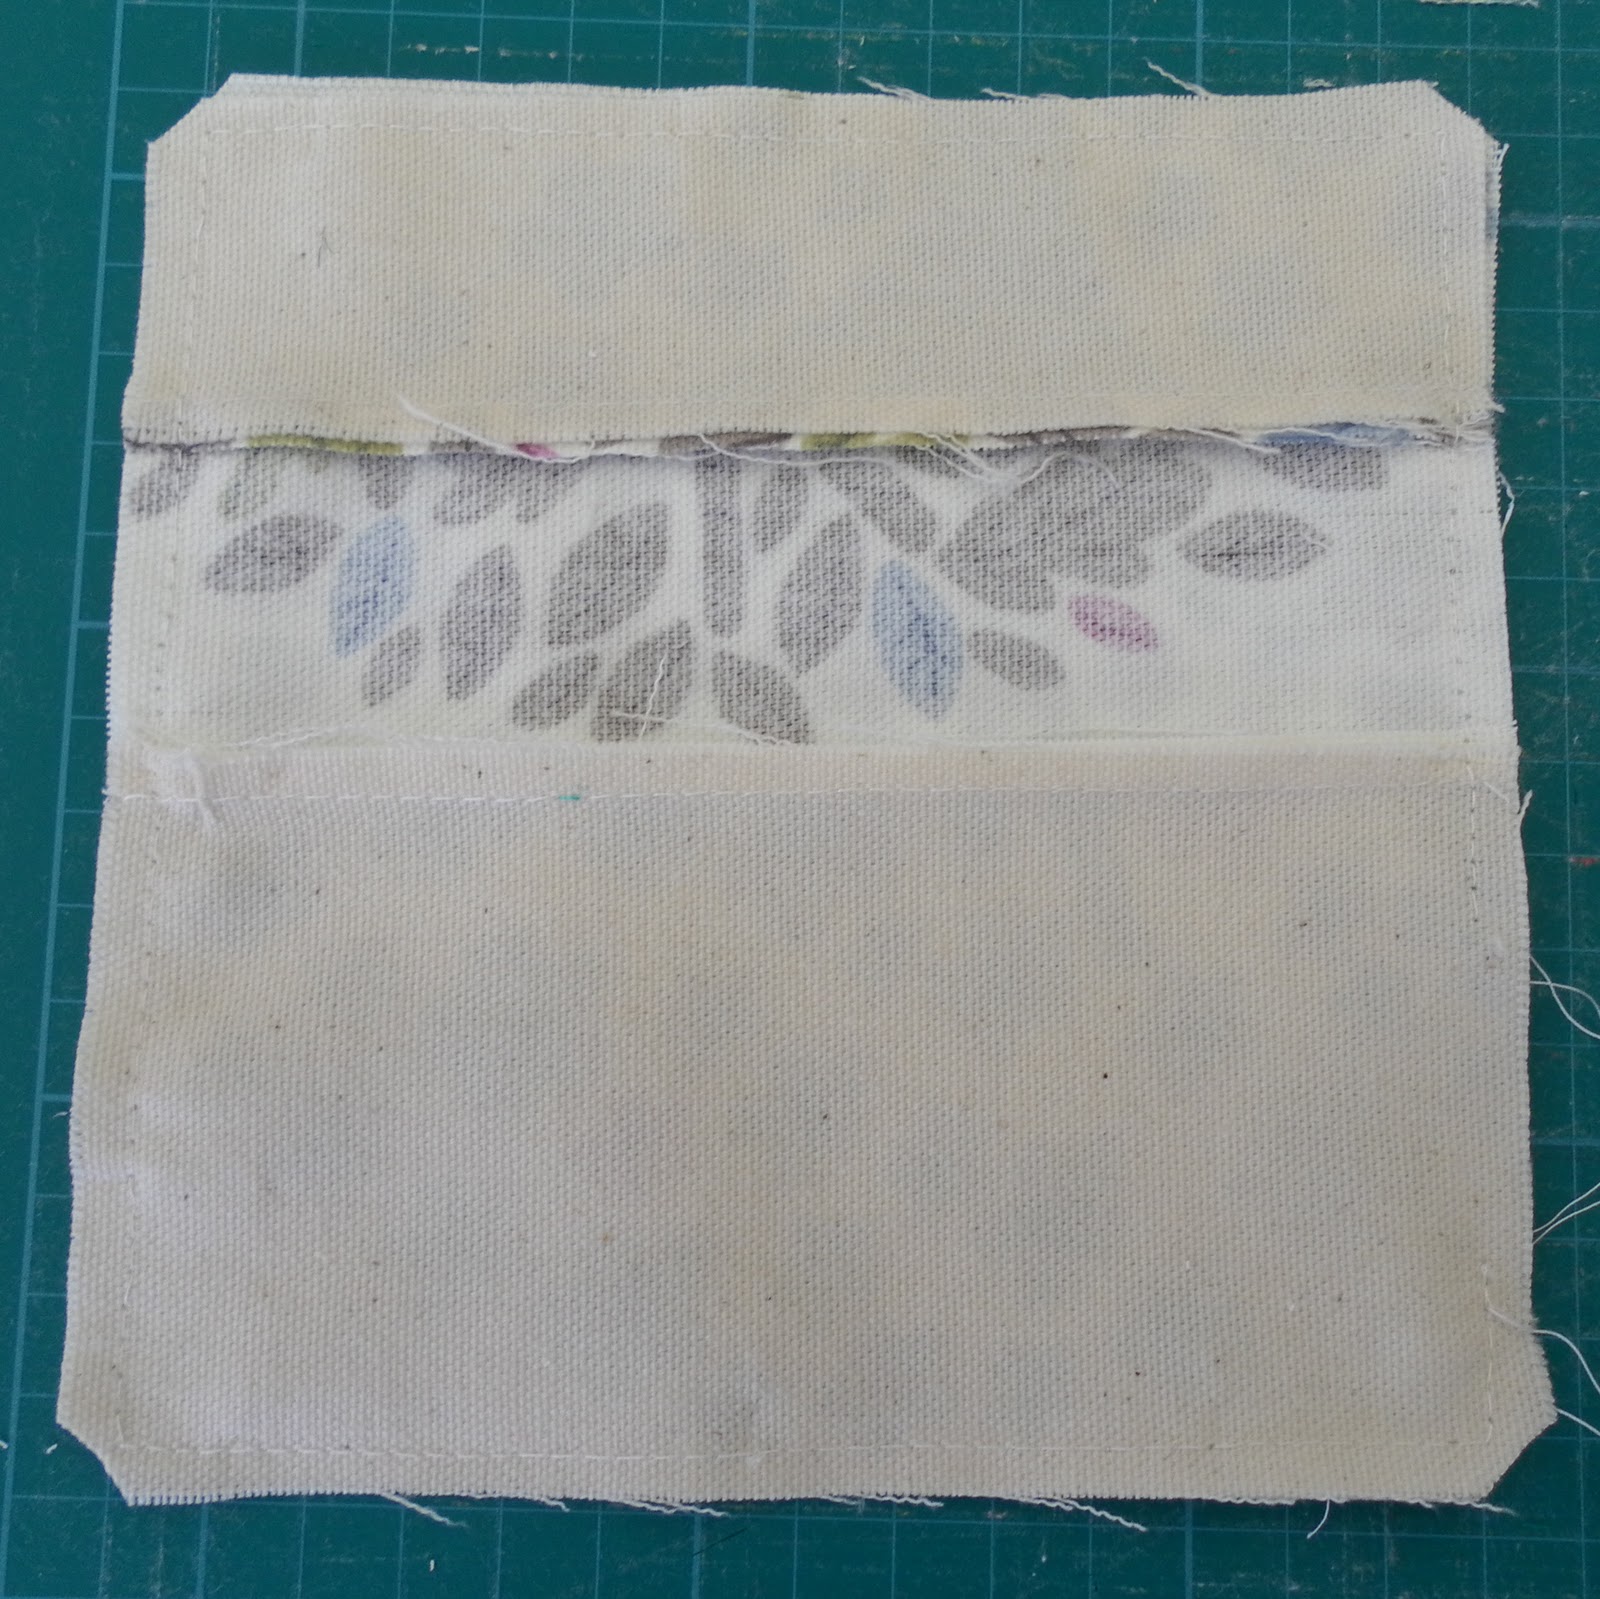
Stitch the 3 smaller pieces together, with the patterned piece in the middle and press seams to the dark side if you have one, otherwise whatever takes your fancy...


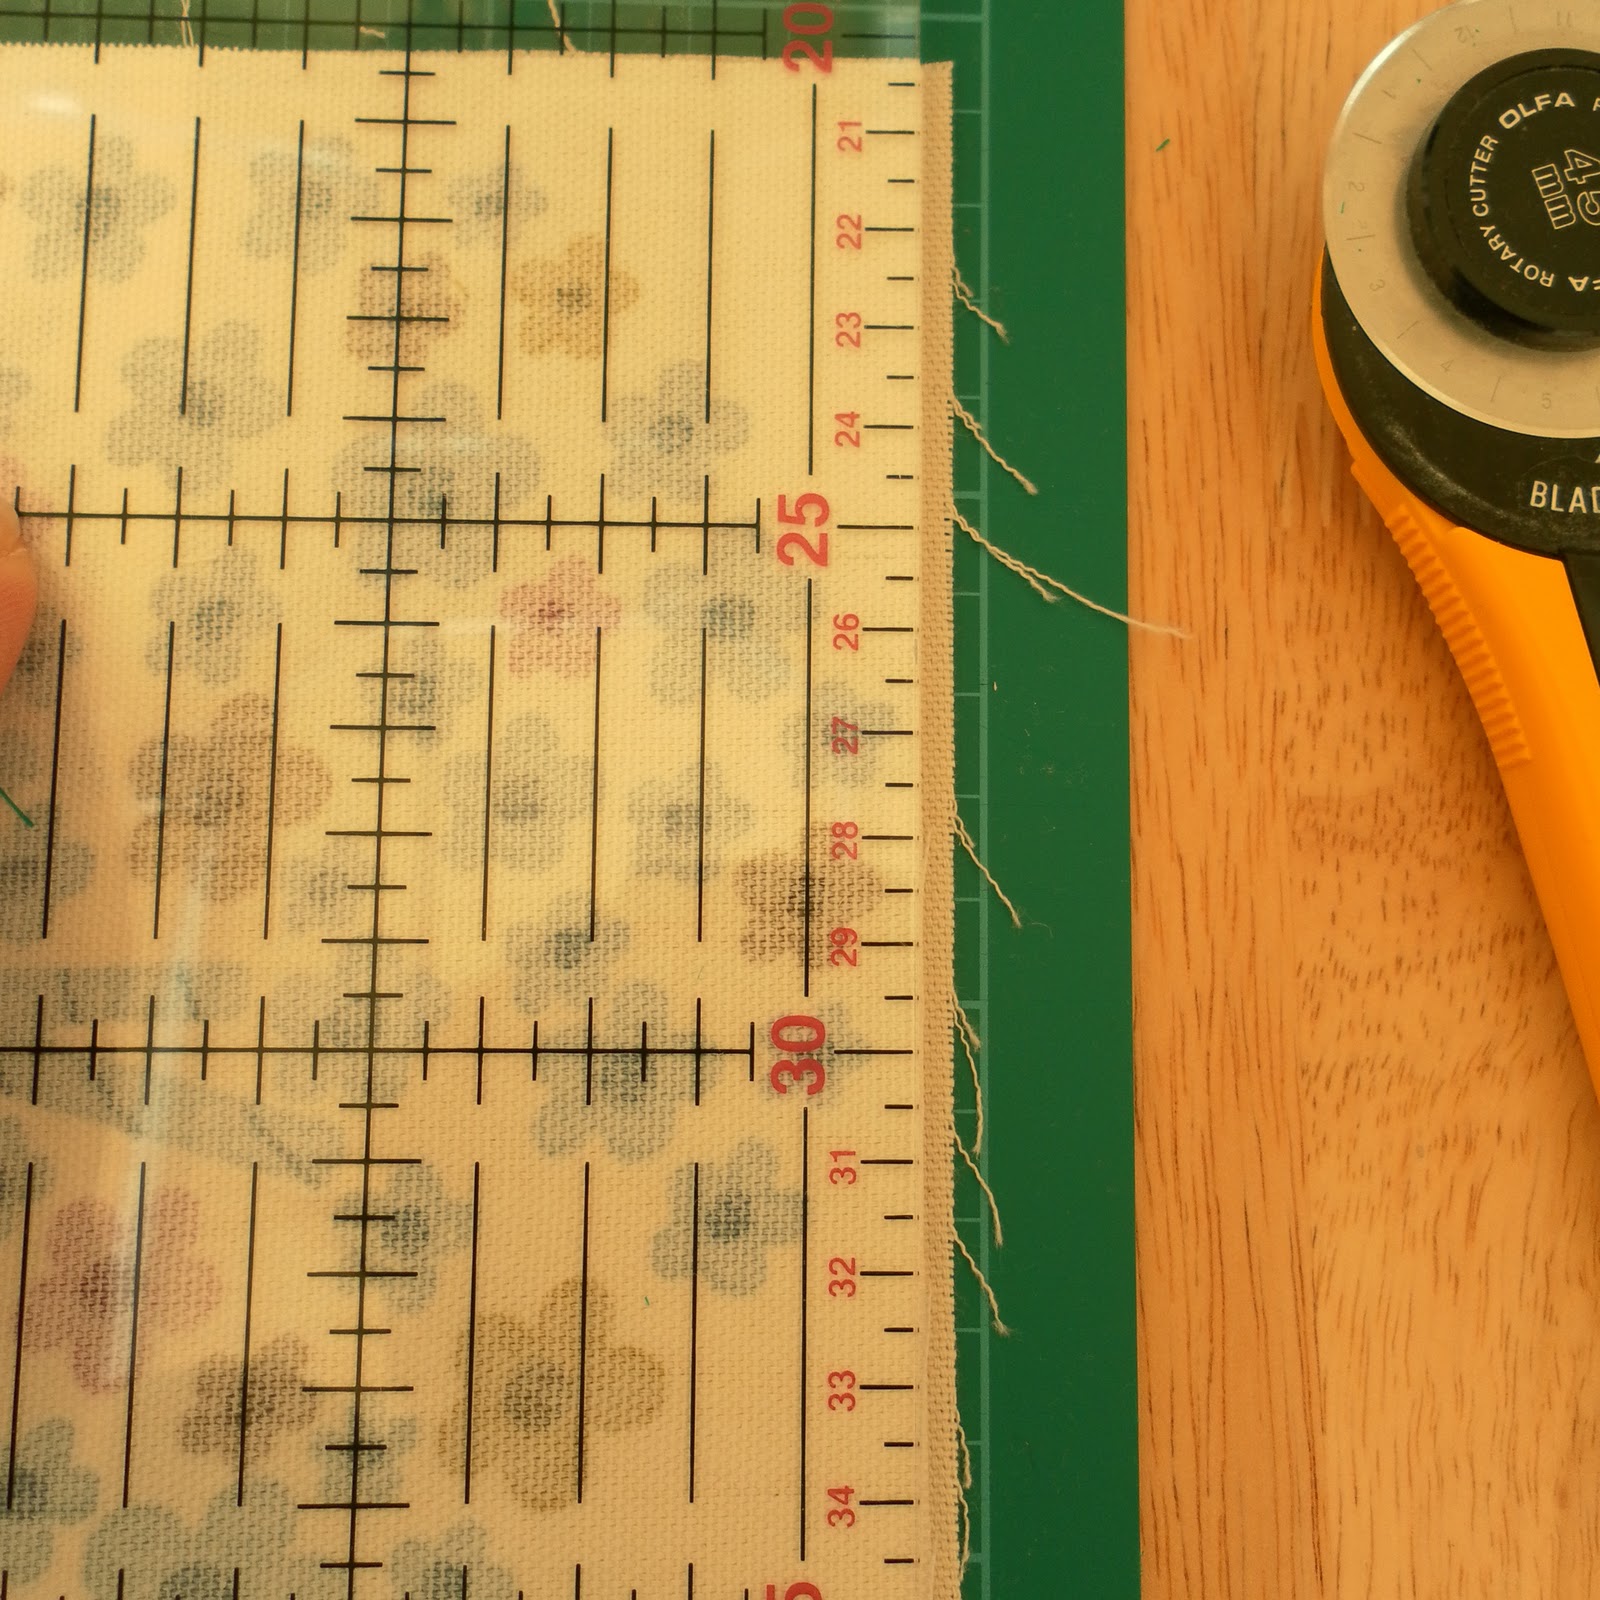
Lay the two squares on top of each other, right-sides together, making sure any pattern is facing the right way, and trim to a 'perfect' square.


I pin mine, especially the seams, but you may wish to just get stitching...


Remember to leave gap for turning, depending on the thickness of your fabric, but about an inch and a half seems to work.


Trim the corners a little, and turn, poking your corners out with blunt pencil.


Press as hard as you can!  Then you can slip stitch the gap.  On the first few I stitched round the edge at about 1/2" in, but I haven't on the last two, unlike on a nice big quilt, the slightest wobble shows and I think they look fine without!


Now for the bit that takes a little attention.  You will need a packet of Fashion Snaps, and you will need the ones with the little gizmo for hammering them in.

For each corner you will need to place a sets of corresponding poppers, firstly marking with a pencil. 

As in my pics, it's easier to see than explain. On this one, they are 2cm in from the corner/top and 1cm in from the side.  In order for the poppers to match up, the second measurement should be half the first, ie. 3cm & 1.5cm, 4cm & 2cm depending on the size of your tray.


Each pair of poppers consists of 4 parts, two of which have spikes.  These need to go on the underside of the tray.  Push them through the fabric trying to ensure that the pencil dot is in the centre.  Follow the instructions on your popper packet, although I find only using the tool for the non-spiked side and manually lining up the spikes first works best - this has been learnt through trial and error and a lot of bent-up poppers.


Apologies for the blurry photos - I didn't notice until it was too late.


Once you have hammered in the 4 sets, it should look like this...


And with poppers fastened, like this... 


If you have positioned your poppers correctly, you will also be able to fasten diagonally or in half too.

I do hope that this has made some sense, but please ask for clarification on any, or all of it - thank you for making it to the end!

Happy Anniversary Mum & Dad!