

Firstly, total credit goes to Jo Ebisujima as this project appeared in last month's Sew Hip; but if you missed that, and/or want to
This should only take about half an hour, (to make, not read) if you have all the necessities to hand, including a hammer and poppers.
I first made these with beautiful Echino, but the last two have been made with the free sample swatches that the lovely John Lewis people like to send. They are roughly A4, so perfect for this project!

As I wanted to make a smaller tray for my Mum, compared the one I make for Dad the other day, I have cut the fabric down, no measuring, just making sure to have a square and a rectangle that is as wide as the square. For my Dad, I folded the corner over to make a square and used the off-cut for the second piece.

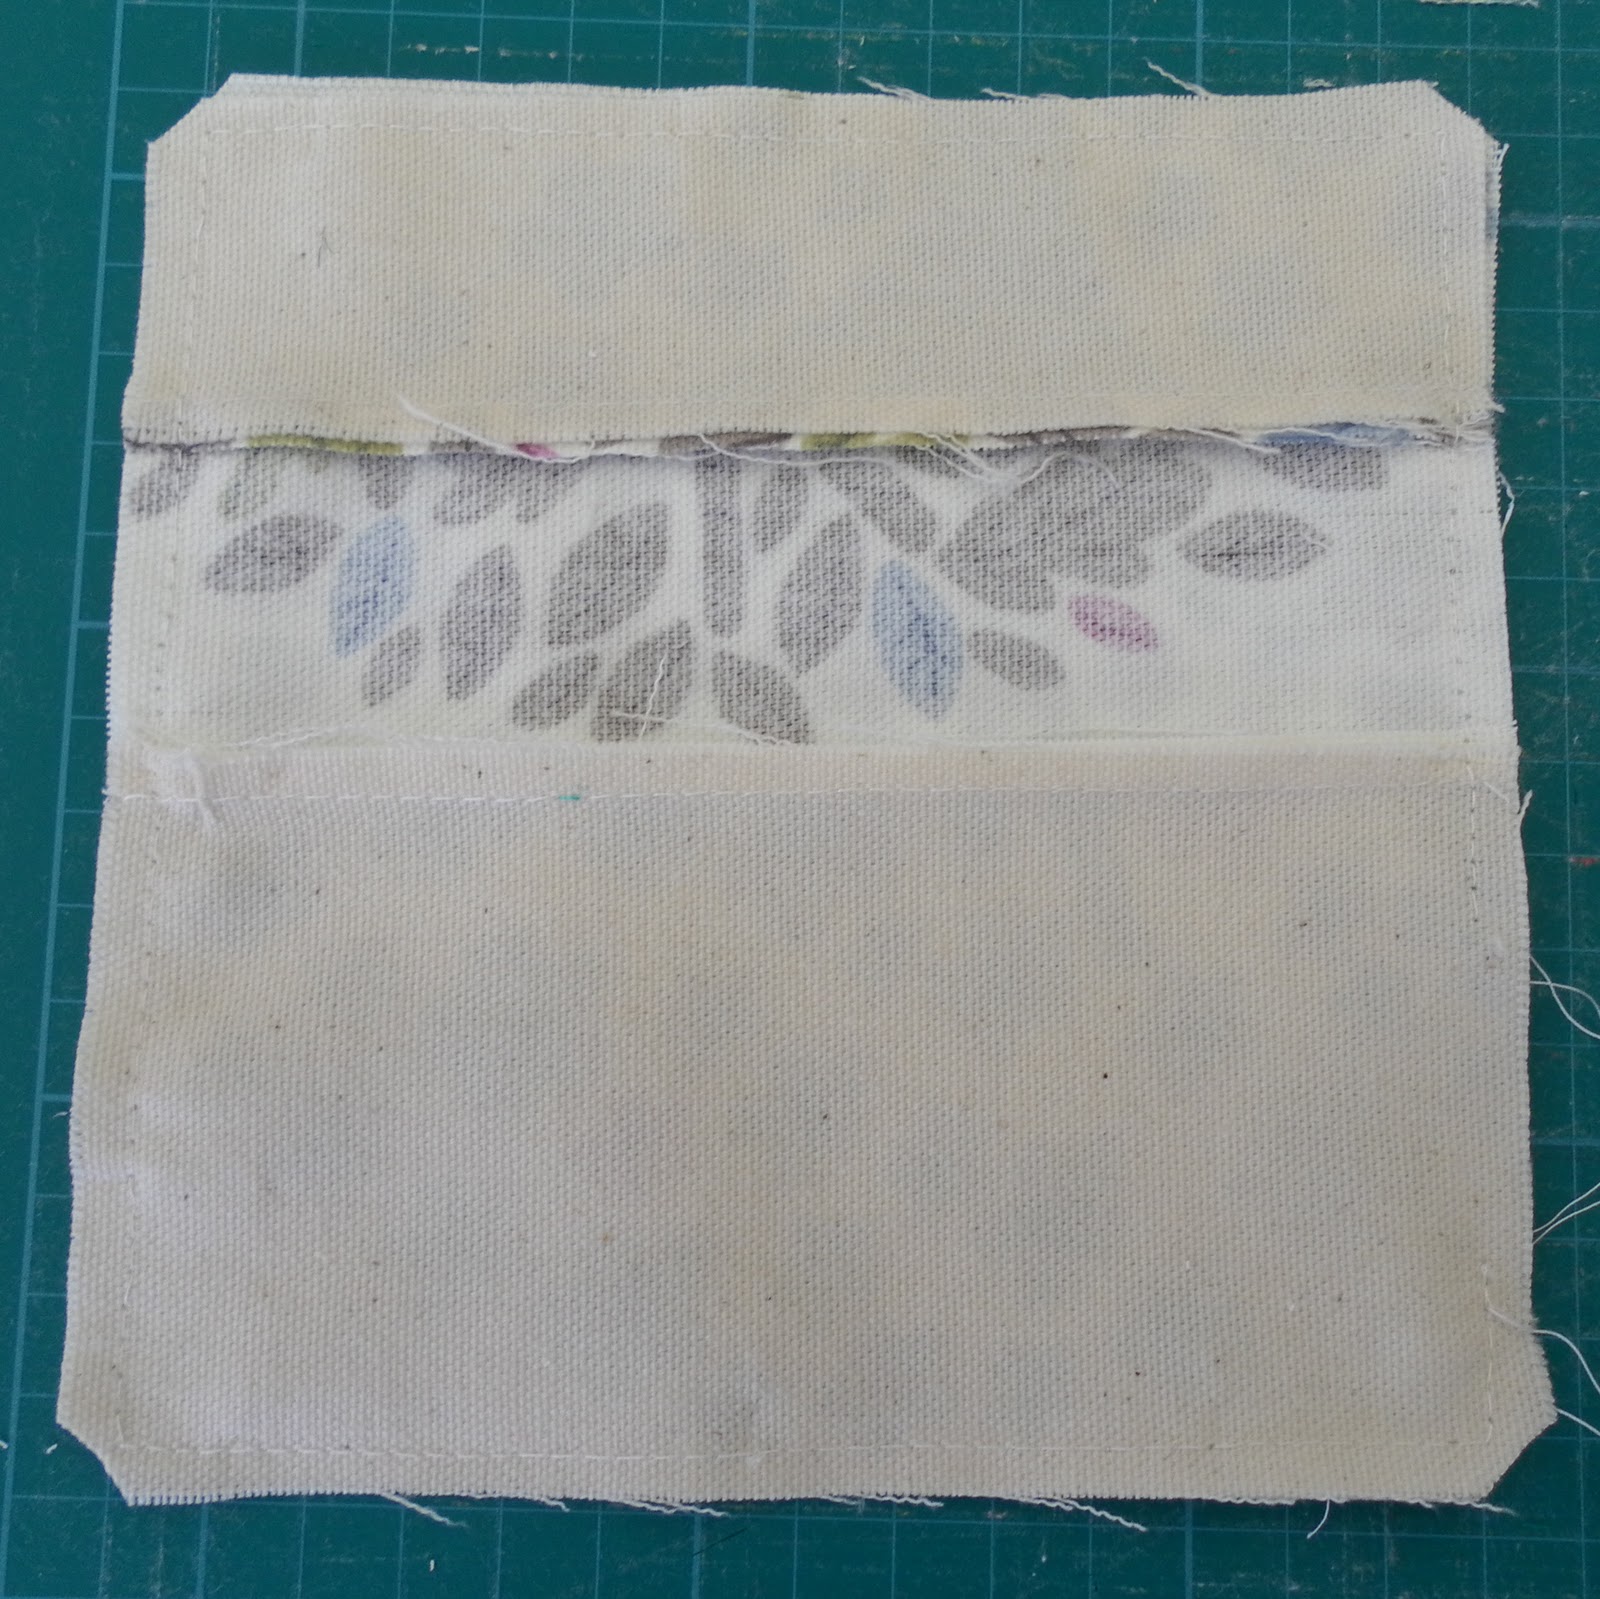
These are the two patterned pieces I wanted, and a corresponding piece of plain cotton-linen. Due to the weight of the poppers, this will work best with heavier cottons or linen, or your sides won't stand up!

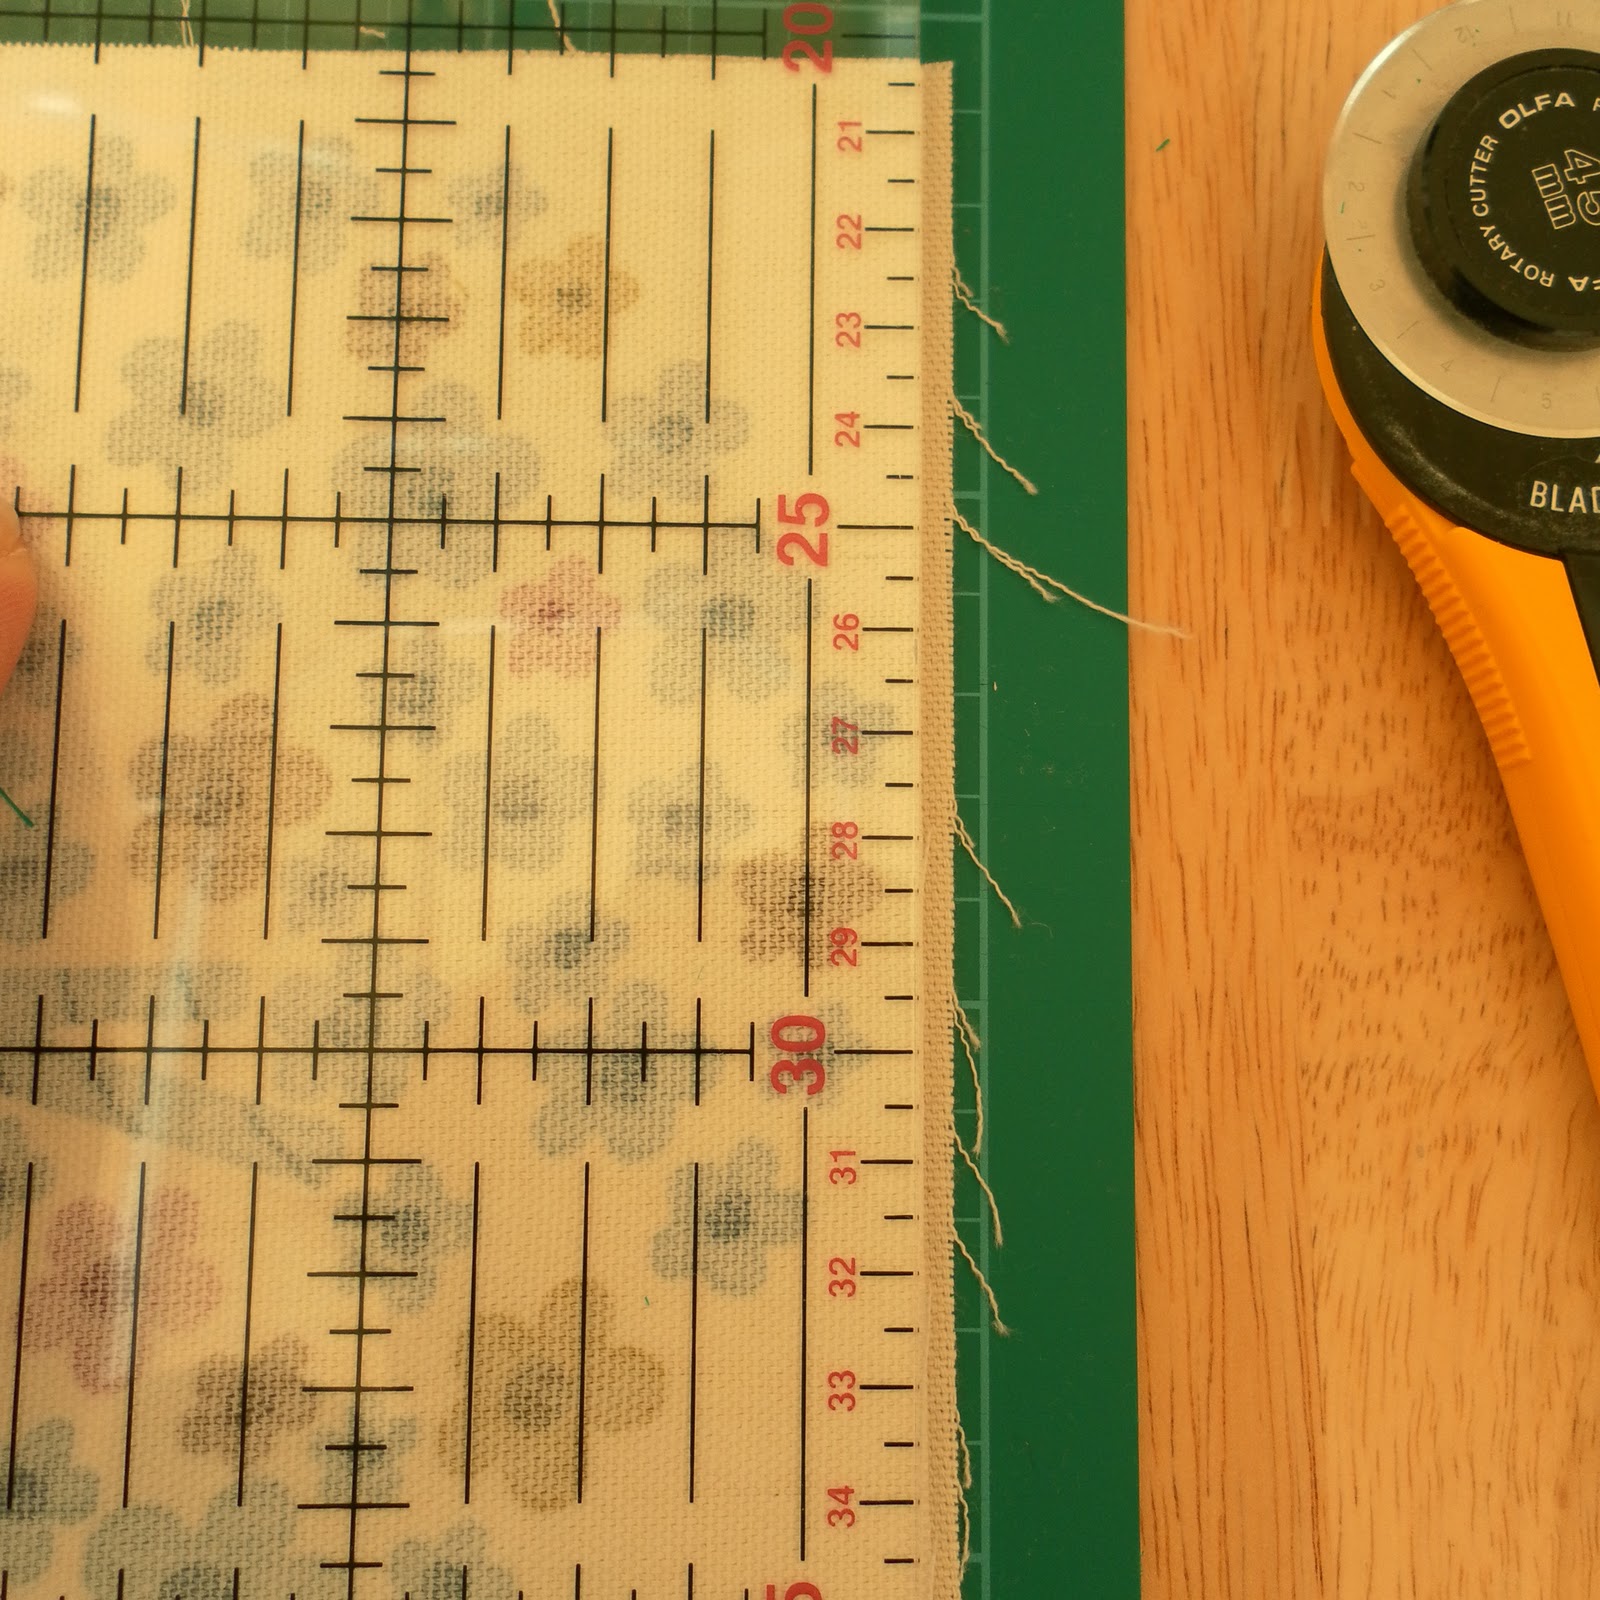
I cut the plain fabric in two, one third of the way along, and then trimmed a little excess off the patterned strip. All seams are meant to be 1/4", but as long as they are all the same, it doesn't matter.


Lay the two squares on top of each other, right-sides together, making sure any pattern is facing the right way, and trim to a 'perfect' square.
I pin mine, especially the seams, but you may wish to just get stitching...

Remember to leave gap for turning, depending on the thickness of your fabric, but about an inch and a half seems to work.

Trim the corners a little, and turn, poking your corners out with blunt pencil.


Press as hard as you can! Then you can slip stitch the gap. On the first few I stitched round the edge at about 1/2" in, but I haven't on the last two, unlike on a nice big quilt, the slightest wobble shows and I think they look fine without!

Now for the bit that takes a little attention. You will need a packet of Fashion Snaps, and you will need the ones with the little gizmo for hammering them in.
For each corner you will need to place a sets of corresponding poppers, firstly marking with a pencil.
As in my pics, it's easier to see than explain. On this one, they are 2cm in from the corner/top and 1cm in from the side. In order for the poppers to match up, the second measurement should be half the first, ie. 3cm & 1.5cm, 4cm & 2cm depending on the size of your tray.


Each pair of poppers consists of 4 parts, two of which have spikes. These need to go on the underside of the tray. Push them through the fabric trying to ensure that the pencil dot is in the centre. Follow the instructions on your popper packet, although I find only using the tool for the non-spiked side and manually lining up the spikes first works best - this has been learnt through trial and error and a lot of bent-up poppers.


Apologies for the blurry photos - I didn't notice until it was too late.

Once you have hammered in the 4 sets, it should look like this...


And with poppers fastened, like this...


If you have positioned your poppers correctly, you will also be able to fasten diagonally or in half too.
I do hope that this has made some sense, but please ask for clarification on any, or all of it - thank you for making it to the end!
Happy Anniversary Mum & Dad!

Ooh I saw this in Sew Hip and love your versions, must make some! I have some lovely heavy Ikea cotton that would perfect!
ReplyDeleteThanks for the info, and the tip about the John lewis fabric :-)
ReplyDeleteThanks so much for the 'how to' I'm dying to make some of these :o)
ReplyDeleteVery cute, thanks! I wonder whether John Lewis have had a run on sample orders? My lovelies arrived today, hehe!!!
ReplyDeleteThanku for the tute FB - I love these :-)
ReplyDeleteThese are fantastic, we always have bits and bobs all over the place and this will be yet another solution!
ReplyDeleteThank you.
Carolyn